Pioneers of animation
MCCAY: LITTLE NEMO (1911)
Often considered as one of the true fathers of animation. Winsor was known for being a famous cartoonist from New York. He is considered a founding father of animation due to his movie comics. An example called Little Nemo where he creates two minutes of solid vintage animation.
First animations
J Stuart Blackton created of the first animations in America and was among one the first to use stop motion as a form of storytelling. He created Humorous phases of funny faces in 1906, which is considered as one of the first animations. He had created this film only using stop motion with a chalk and of course a chalkboard.
Gertie the dinosaur was the first key frame animation and this was created by McCay, back in 1914. This movie required Winsor McCay and his assistant John A. Fitzsimmons (who traced the backgrounds) to create 10,000 drawings, which they inked on rice paper and mounted on cardboard.
Ed Catmull is a true pioneer of 3D technology who was the first to create 3D animation film or short was a video. First developed on the Pixar computer.
Start of major animation studios
Bray-Hurd Patent Company was one of the first American animation studios run by McCay and Bray Productions used to create Little Nemo and Gertie the Dinosaur.
The patents for animation systems using drawings on transparent celluloid sheets and a registration system that kept images steady were held under this firm. Bray also developed the basic division of labor still used in animation studios (animators, assistants, layout artists).
The biggest name in animation is now known as Walt Disney but many years ago; when it was first a small company it was known as Disney Brothers Animation Studio.
From 1911-, Walt Disney’s death 1966 known most commonly as the Golden Age of Animation with other animation studios and film studios such as Warner Bros who created Looney Tunes and MGM who created Tom & Jerry.
They first appeared in an MGM cartoon called Puss Gets the Boot, which was released to theaters onFebruary 10, 1940. The cat was named “Jasper”; the mouse was unnamed onscreen, but was called “Jinx” by the MGM animation staff.
Aardman Animations – created the family known stop animation character Morph.
Modern Master pieces of Animation
Inner Workings- Short Animation for the movie Moana. Leonardo Matsuda directed it. Walt Disney produced the short.
Alpha and Omega- Lionsgate productions. Directed by Anthony Bell, Richard Rich.
Shark Tale – DreamWorks – Vicky Jenson, Bibo Bergeron and Rob Letterman
Principles of Animation
- Squash and Stretch
- Anticipation
- Staging
- Straight ahead and pose to pose
- Follow through and overlapping action
- Slow in and out
- Arc
- Secondary Action
- Timing
- Exaggeration
- Solid Drawing
- Appeal
10/02/2017
Character stages/ poses
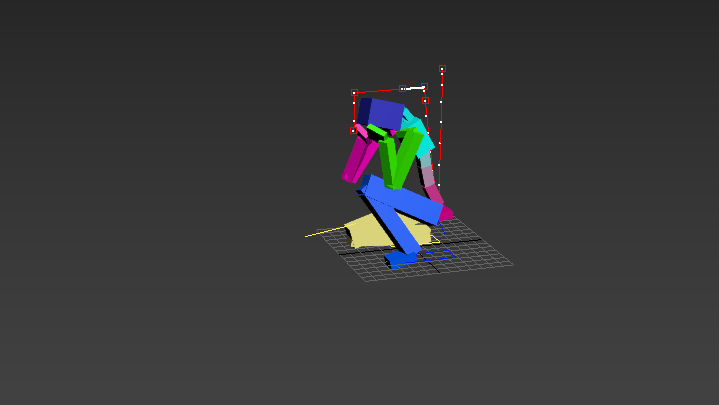
1st Pose
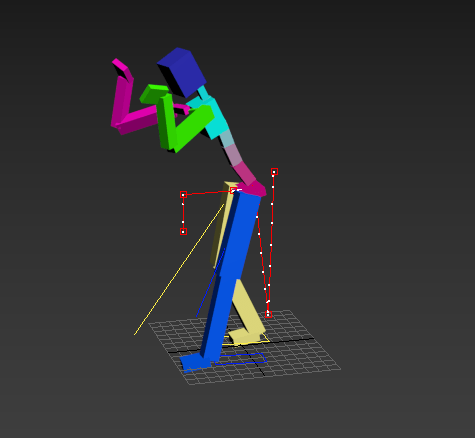
Getting Ready to Show Dominance
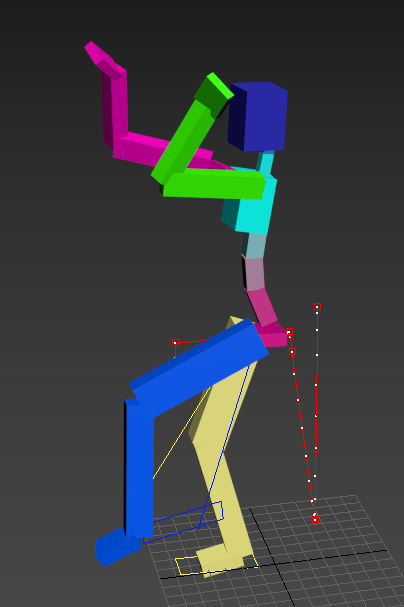
Preparing to Kick
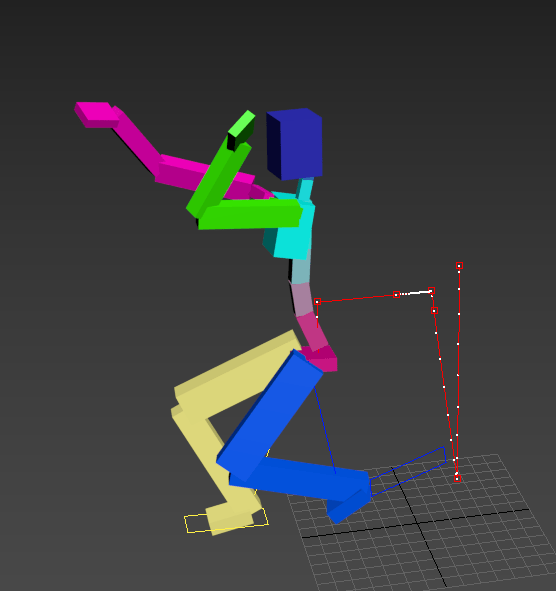
Blocking/ Hitting a punch
This was the CAT model we animated in Human Base. Using key frames and Tweening allowing the computer to figure out the gaps. I have a habit of working frame by frame. This was pose task and i was already trying to figure out how to animate it each frame. Task was to show emotion.
02/03/2017
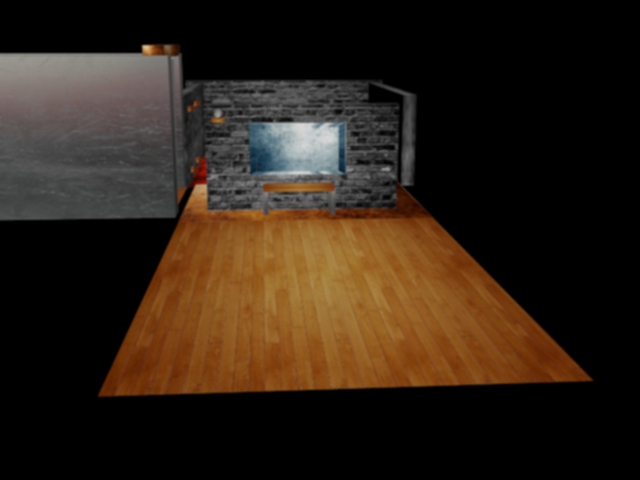
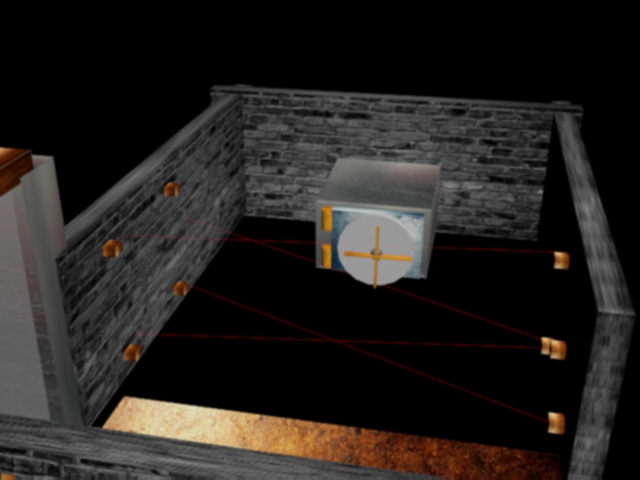
Today’s class we had to create a scene ready for animating. We weren’t supposed to add textures but i added them to help me fathom what was what in the scene. The scene is a bank robbery. we have to figure out how our person gets in steals what’s needed to be stolen and get out again without being caught.
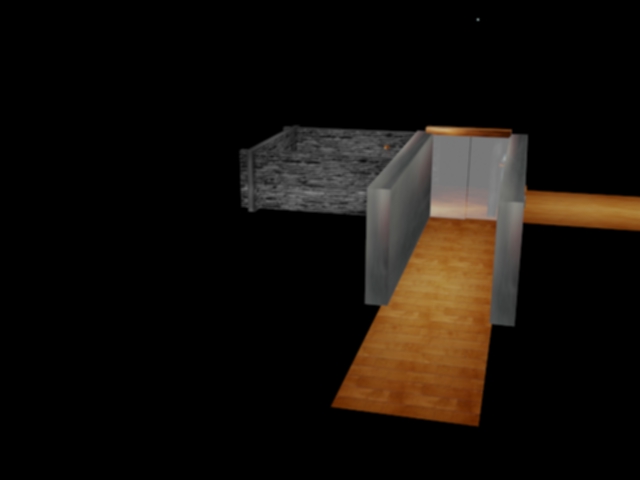
Door Way which e
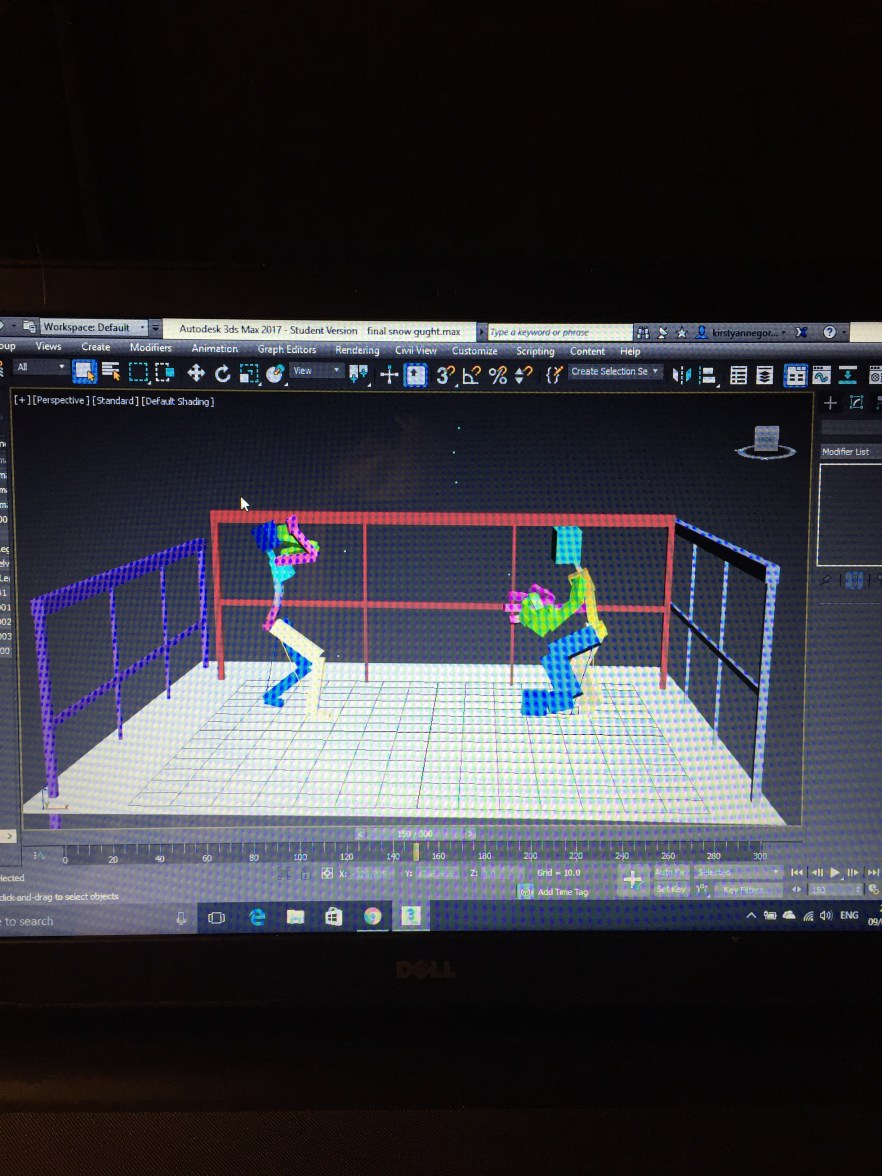
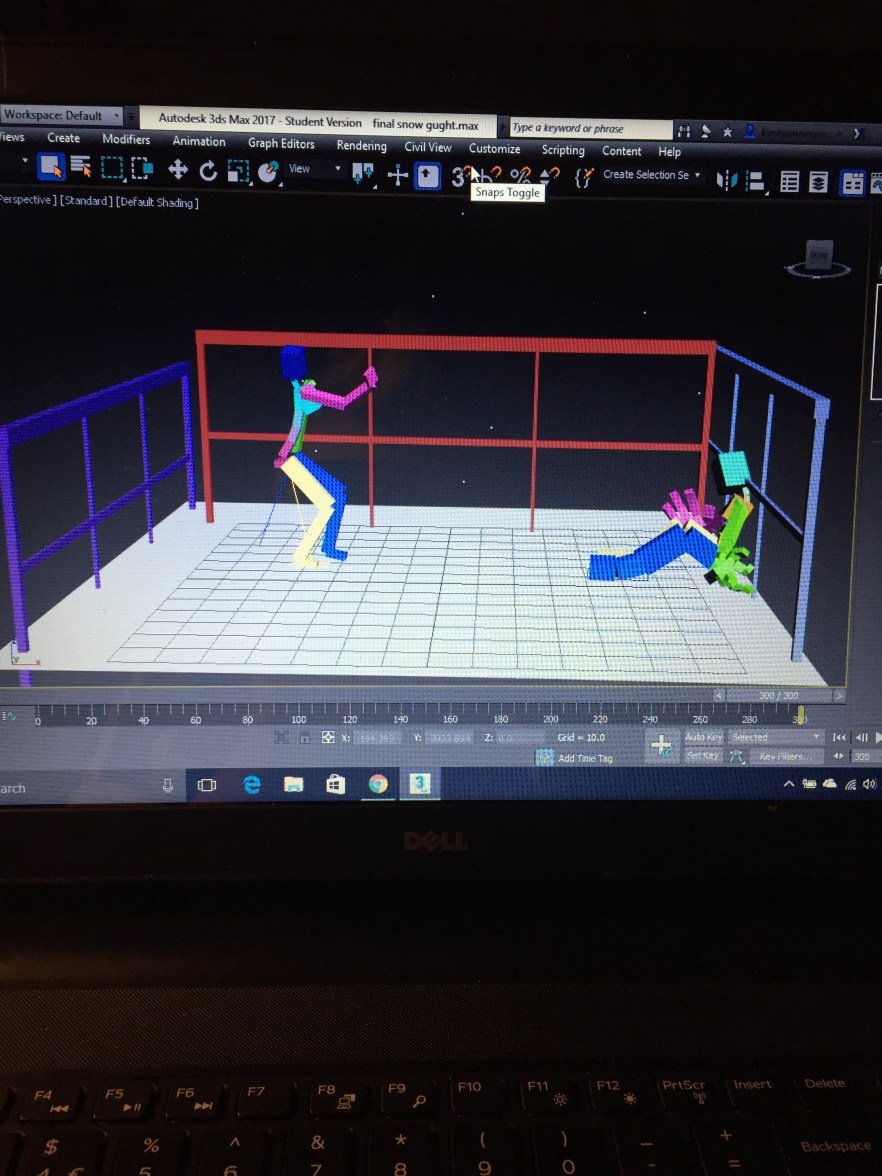
1st Animation – It’s The Final SnowDown!
This animation is about two characters who are set in a snowy environment park setting. The First character on the left signals he’s out to get the person on the opposite side of the field. This as you would aspect caused some stress to the other character so they show signs of fear and confusion.
Once the initial presentation of a fight going down is finished the first character (on the left) picks up a snow /ice ball and throws it at the other person. This causes rage of the other character ( on the right). He lunges towards the left character and punches him in the face. They have a little scuffle which leads to a bigger fight. Left character falcon punches the other character which sends him flying. Unfortunately he smashes his head on the railing really hard and passes away.
For this scene i used particles for the snow/blizzard type weather. I created a plane and the railings as well as the snowball. I used squash and squeeze when the snow ball hits the other character and falls into the other part of the park where the snow also falls.

Screenshot of opening key frame
Half way through the animation around 150 frames
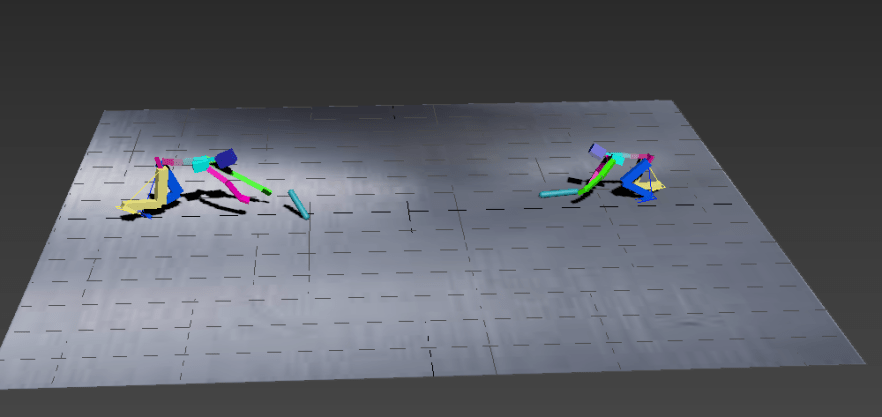
Last frame at 300 Last shot Screenshot

Screenshot of final animation clip
Work Link: https://www.youtube.com/watch?v=uS_Ry9PserM
5th April 2017-
For my second piece of animation i wanted to incorporate star wars into it. But in order to use star wars i had to create lightsabers. My modelling skills in 3d max aren’t the best so i took to the internet. You Tube specifically in order to help me create a decent and working light saber. I came across Pro Tutorials Videos I’ll insert screenshots to show what was shown and my progress of it.
The link to the video is here : https://www.youtube.com/watch?v=Qxrs-U8qI_s
- In the first part of the video he shows us how to make the basic shapes. I created a cylinder with the create tool.

2.Then selected the bottom segments and selected the odd ones out so clicked on then clicked another making sure i had converted the whole object to editable poly. Once selected i had to extrude by 2 each of the individual pieces to get something that looks like the object below.

3. Once extruded i selected the grow tool. 
4.Once the bottom half of the light saber was created it was time to create the button that essentially turns it on and off. As well as rest of the upper portion of the device. 
5. Extrude the middle section to get the actual blade of the saber. Now to get it to ope and close. I cloned the current light saber and made a new one.

Cloning
6. I use the modify mod on the clone. Now if i go to my modify tab there should be a tab that says off. Scrolling it down makes the light-saber close and vis versa for up.

Modifier
7. Finished Light saber. Now i just needed to get it from just plain and boring to an actual visually pleasing light saber ready for my character to wield in a scene.

Ready for texture and Glow
To get each individual part to have its own color i went into materials and set the saturation levels at various levels for each color i needed. Then i’d select the part of the light-saber it needed to go onto and clicked assign to selected in the materials tab. For the glow i made various textures in the materials section making playing around with the saturation and the chosen color.
The animation:
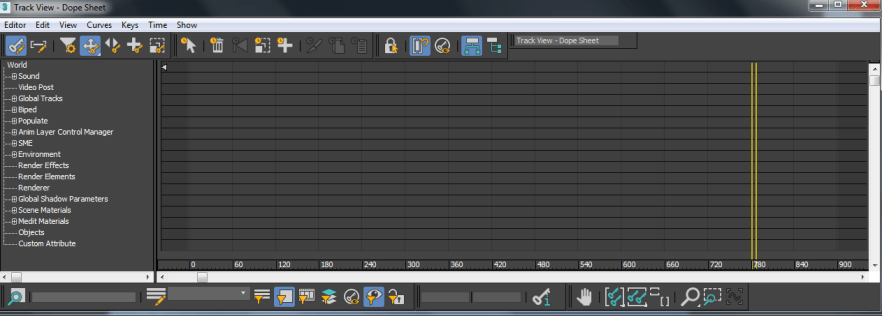
For the light saber animation i wanted to have the classic light saber sound. What’s a light saber without the classic star wars sound? just a cheap light stick that can be found in circuses the pound shop. I couldn’t just put the sound clip in. I had to convert it to a wav form by first putting it as mp3 then putting that clip through the wav converter.

Screenshot of Dope Sheet
The wav file is then placed into the dope sheet in the graph editor tab in 3Ds Max. Once the sound is finally in the scene its time to animate. Its important to animate to the sound other wise your overall animation would look strange. The sound clip was around 700-750 frames to save time i just did the animation pose to pose instead of frame by frame to get a much smoother animation than a jagged one. Since this animation was successful im actually going to try this again but with people to animate fighting against each-other. The animation itself in its completed form is only around 28/30 seconds. So 700+ frames is only 30 seconds. I overall spent a few days on this 30 second animation from it’s initial modeling to its final animations. The modeling took me around a day to figure out. Almost wished i had done this for my 3d modeling assignment. I look back on that and think to now and how well my modeling has improved as well as my texture choices playing with different maps and saturation. I hope to use the skills in this animation to better myself in the future.

Screenshot of final 30 second clip
Work Link: https://www.youtube.com/watch?v=aOVSKaiR2oY
Third Animation: R2D2 Vs Giant Mech Tech Robot:
This animation was very simple in nature. I wanted a quick and simple animation to add to my complicated animation i have planned for my overall animation assignment for that i’m currently just building my rig and then ill start the animation and its other little quirks. I wanted to push myself with that one, however, with this one i just wanted to demonstrate squash and squeeze in the animation principles. In this animation a mech tech parent in the CAT rig section of the animation tab in 3D Max. This robot is then animated to stomp over to a very unaware R2D2 model i had also build just to demonstrate the animation principle.
Once the robot stands on the head of R2D2 the build starts to get squashed and squeezed. As the mech robot gets up to walk off there is squished remains of R2D2 left behind as comedic humor. I did think about adding sound but however, for this animation i think it would of looked out of place and i didn’t have any sound clips long enough of R2D2 screaming.

Screenshot of final clip
Work Link :https://www.youtube.com/watch?v=1-fc5QxWRLk
Mine craft Animation:
This animation is my most challenging its currently just in the starts i’m currently just rigging it up and getting all the parts ready but i have modeled everything that is needed for this scene its the the rigging that needs to get done before i can start the animation. I wanted to push myself to try new things.
Star wars animation:
This is part two of my star wars animations, since my light saber worked out so well i decided to start working on an actual fight scene with lightsabers. For this animation I’ve decided to incorporate my favorite fight scene in star wars which is Darth Vader Vs Obi Won. This clip is 2.06 minutes long so this will be a very time consuming piece.
For this section of my learning I’ve not been very motivated to complete the task as I’ve said before in my other sections I feel as though my work isn’t a good enough standard compared to my fellow peers. I have so far produced three small animations but i still dont feel as though ive done enough nor is it up to the standard. The only animation i really enjoy is the lightstaber.
I don’t feel i have done well enough in this section of my learning. Though i have produced three short animations.
11/05/2017 – Motivation Thursday
I found an old animation i had started on a different computer. It was a harry potter and Voldemort sound animation of the final battle. It’s now completed and around 800 frames long.

1st screenshot – Opening Screen
This is the screenshot for the opening frame to the harry potter animation. Its harry and Voldemort laying on the ground about to start scrambling to their wands to start the final famous battle in Hogwarts history. This animation has crawling and sound animations. The sound was taken from YouTube as an MP3 and then it needed to be converted into a WAV format.
Once it was converted i placed it into the graph editor on 3D Max. It gets placed into a Dope sheet as shown below then into the sound tab. For my animation i ticked a box that allowed the sound to play even when i was moving throughout the frames of the animation.
Middle Screenshot

End Screenshot with Paint Edits
If i had any experience with After Effects i would of added it into the animation in the post production side of the animation. Id add the effects in the editing process. Even though this is a a simple animation I’m actually quite happy with its turn out.
Work Link: https://www.youtube.com/watch?v=DOu0BYt8Hck&feature=youtu.be
5th animation added to my collection of animations for my assignment is a simple walk cycle, using a Mech robot. Once the walk was looking good i added Tertiary movements to make it flow better.


Screenshots of starting and mid way through the walk cycle.
Work Link: https://www.youtube.com/watch?v=TlFFIXvSZQE&feature=youtu.be
Proposal: The Adventures of CAT Rig Jones
Storyline:
I want to create a short trailer about this biped who gets hurt after a serious fight with another cat rig which leaves him unable to walk or interact. So 3D Max turns cannot save his Biped body. They have no choice but to turn him into a Base Human Cat Rig that goes by the name of CAT Rig Jones!. As anyone would react if you woke up in a body that wasn’t like your own you would react surprised and shocked. I will create a scene where he wakes up as this CAT rig base human. In this trailer there will various animations of what happens to CAT RIG JONES, what happened to him and his road to being himself again? This would hopefully show the few of the 12 rules of animation. I plan to demonstrate, squash and squeeze, walking, weight and a few more from the list.
I decided to do a trailer instead of an actual story because unlike my peers I’m not tech savvy with 3D Max and animating I don’t trust myself enough to be able to make a submit able worthy animation piece if I were to make it into a actual story. I do however plan to in the future perhaps next year continue to work on this an actually make the full animated story but in my spare time without the pressure of having to make sure it’s practically perfect.
Software to be used:
To make this animated trailer for my project I plan to use 3D Max to create all the animated scenes for the actual trailer. All the small 2-3 second clips that will set the base for the animated trailer. Alongside 3D Max I will be using several g YouTube videos as references and inspiration for a final product animated trailer for this submission. Another software that I will use is going to be either iMovie or its more advanced companion Final Cut Pro X. Using all these different software’s should help me create the trailer I want to be able to succeed at this animation module.
Animation Trailer : https://www.youtube.com/edit?o=U&video_id=Sodl19LNrpY
Project Link:
Show Reel Link: https://www.youtube.com/watch?v=qJXPfN2Y6-o&feature=youtu.be
Mountain and Sea Animation
I wanted to create a simple animation to show how to make water or liquid animate in 3D Max. I started of with just a simple plane then added several modifiers to onto to it such as noise and animated it by clicking the animate scene button in the modifiers section. If i had more understanding of the software i was going to use this background scene to create a throwback of King Kong type animated scene. I even have the prepared “King Kong on the back of the mountains waiting to to be animated. Once animated i rendered it out and placed it on YouTube so it can be easily viewed.
In all or most of these animations i used a Camera and lighting to create different effects as well as getting different angles represented on the videos so the audience could actually view the animations.
YouTube Animations:
Dead Biped : https://www.youtube.com/watch?v=VDD1arO8-20&feature=youtu.be
Biped Fight scene: https://www.youtube.com/watch?v=odt_nNQE0-4&feature=youtu.be
Waking up Scene: https://www.youtube.com/watch?v=-aUssFZHxgM&feature=youtu.be
Helping Hand Scene: https://www.youtube.com/watch?v=1NhjjL58dvk&feature=youtu.be
Trying to walk: https://www.youtube.com/watch?v=-547ZBI_VsI&feature=youtu.be
Realization: https://www.youtube.com/watch?v=n0WVU6eM3x4&feature=youtu.be
TV Time: https://www.youtube.com/watch?v=FqC2wDRnheA&feature=youtu.be
Conclusion:
In summary I do think I could of done this section a lot better, i may have videos and ideas to show for the months i worked on this animation section, however i do believe if i had thought about this idea earlier it would have turned out a lot cleaner and crisper than it looks as of now. I wanted to make something that would stand out above my classmates and i think i let that really get to me and make my work quality suffer in the long run. I wanted to make animations like those i see on YouTube but i believe I failed because i didn’t stop to think that those animators hadn’t just started a course to learn they had a year if not 2-5 years on me, they were 3D Max and Maya savvy and i’m sadly not.
The animation i enjoy watching and i am very proud of is the very simple yet eye catching light saber animation. As a die hard star wars fan i was keen to make it as perfect to the actual thing as i possibly could in an animation software. Some parts of my show reel show’s my errors and my accomplishments, I’m hoping the trailer for CAT Rig Jones! turns out alright overall, it’s not what i originally wanted to create but i’m happy to at least have something to show for my efforts over the past months.
Also like last assignments I need to work on my self confidence and allowing myself to look past my fellow classmates and only focus on my own successes and not worry about other peoples work. That seems to be my biggest let down this time, i know i can achieve what i want to in animation i just need to focus on me and only me.Looking at how i think this assignment went, for next years assignments i will learn to just solely focus on my own work and not worry about my other peers work, i seem to compare myself to everyone and i do believe if i could just focus on my own, my work would get a lot better. In the future i plan to actually learn to ask for help when i’m drowning in worry and nerves of failure.
Looking at the 12 principles of animation i can clearly see that I’ve done a few in my animations both in the trailer and the initial show reel. Most principles used are ,Appeal , Secondary Action, Exaggeration,Timing,Straight Ahead and Pose to Pose,Staging and Squash and Stretch.
Even though i didn’t have my clicked moment until closer to the end of the project i do believe it’s done to the best of my ability for the time i had left to complete it, i will over the summer go back and actually animate it to the quality of animation i wanted in my first the animation i did for this assignment to look, just the same way i did for my texturing and modeling assignment, since then I’ve gone back and worked on texturing items I’ve modeling in 3D Max to gain more understanding and skill of the software, ready for the next time i use it.
Overall i enjoyed the animation section of this course and would be looking forward to attempt another assignment like this in the future.
